As a freelance film editor, the second thing I do whenever I’m editing on a new system is create a Favorites bin for the effects and presets that I use regularly.
(The first thing I do is to import my own keyboard shortcuts, and the third thing I do is to ensure the auto-save interval time is set to something more frequent than the default 15 minutes; say every five or seven minutes.)
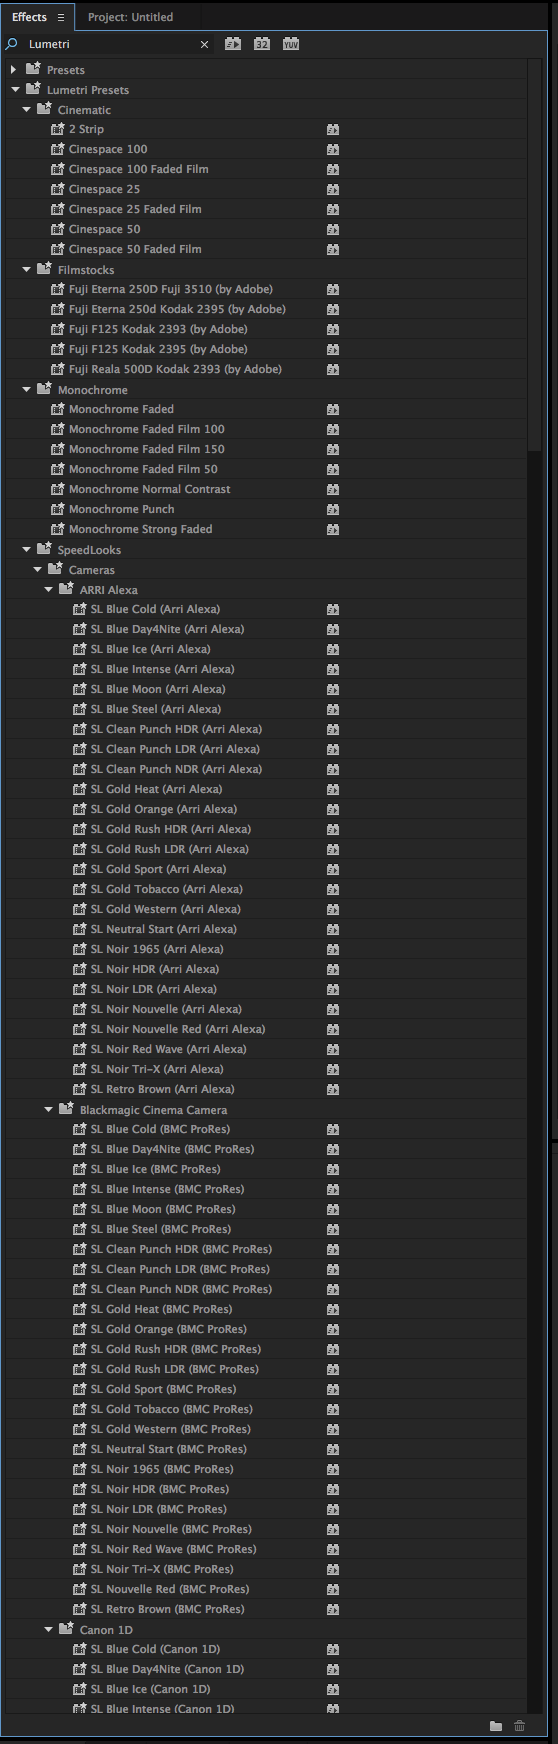
To convince you to use a Favorites bin, just type ‘Lumetri’ into the effects search box and watch what happens…
This unwieldy list of look presets means you have to scroll a long way down to find that Lumetri color-grading effect. Multiply this effort times a hundred and it can soon become tiresome.
Compare that long list to this nice, short one.

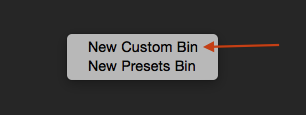
It’s incredibly easy to set up a Favourite Effects bin in Premiere Pro. Simply right click in the Effects Panel and select ‘New Custom Bin’
Rename this to Favorites (or whatever you want) and then just click on an effect and drag it into that bin. It creates a copy of the effect with a little arrow over the icon. Transitions and audio effects work in the same way.

Here you can see the effects that I most often use in Premiere Pro. If you’re really eagle-eyed you might notice a saved preset of a particular effect in that folder too. This is why there is a little ‘star’ over the Three-way Color Corrector effect.
Saving presets means you can quickly store and re-use particular settings for any effect, for example audio EQs that create a telephone sound effect, or remove bass rumble or whatever.
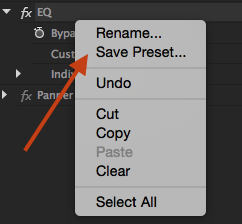
To save an effect preset for later use, just apply the effect to a clip, adjust the parameters to your liking, then right click on the name of the effect and choose ‘Save Preset…’. (If you don’t right click on the name of the effect specifically, you won’t see this option.)
By default all saved presets are located in the top ‘Presets’ folder, but you can easily drag and drop them into your Favorites bin to keep everything in one place.
Bonus Tip – Fixing Premiere’s Three-Way Color Corrector
Now that Premiere has the powerful Lumetri Color Panel as the go-to color-grading method, there isn’t much cause to use the older Three-Way Color Corrector.
But if you do end up using it, then make sure you fix the rather broken default settings by dragging out the two triangles that handle the fall-off and blending between the shadows, midtones and highlights.
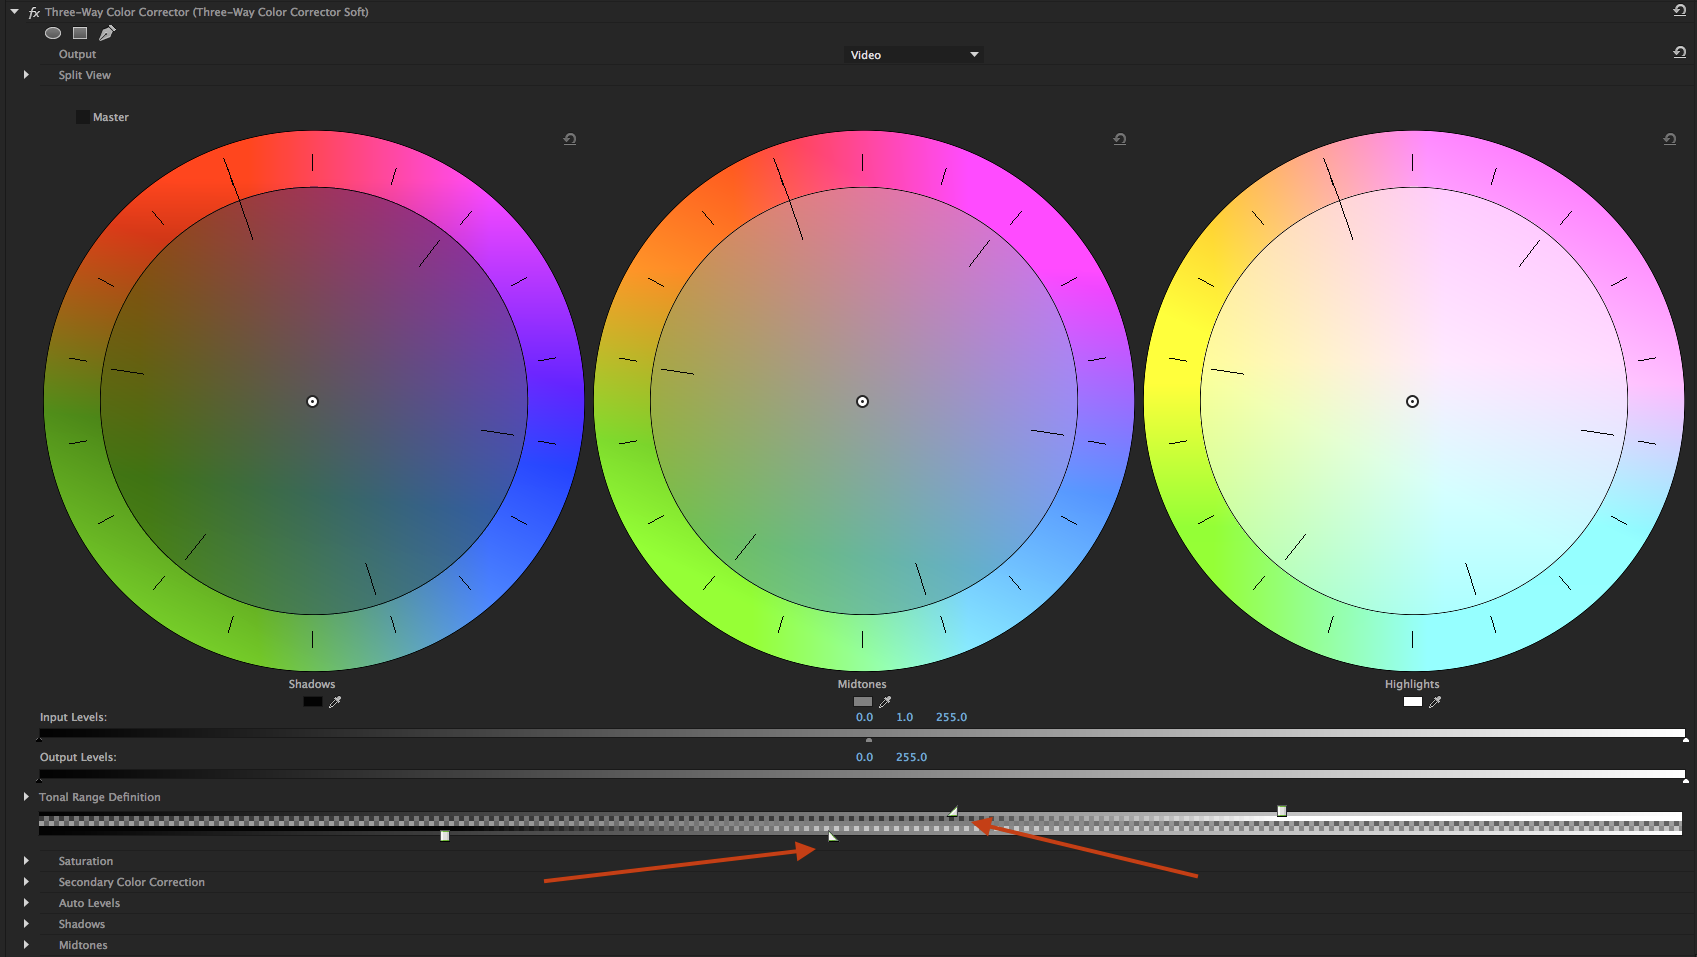
By adjusting these towards the middle, you will create a much more subtle fall-off around each range, and so more easily create natural-looking adjustments – a bit like how the Three-Way Color Corrector filter worked in FCP7. I picked up this tip from Mixing Light.com, a colorist subscription training site.
Bonus Tip – Media Browser Favorites
You can also save yourself a lot of time and clicks by setting up Favorites within the Media Browser panel. Normally when you navigate to a specific file path on your system you have to click your way through layers of folders and sub-folders.
With a Favourite set up you can jump to that saved file path in a jiffy, which is obviously a huge time-saver if you frequently use the same folders, buried deep in your media management structure.

Setting up a Favorite shortcut in the media browser is easy: simply navigate to the folder you want to ‘favorite’ in the Media Browser panel, right click on it, and select ‘Add to Favorites’.
This folder shortcut will now appear in your ‘Favorites’ folder in the Media Browser, now accessible in a single click.
I learned how to do this from a Manhattan Edit Workshop Premiere Pro video, check it out above. It’s worth browsing through their YouTube channel for more great tips.
So there you have it, a few simple but effective tips on using the power of Favourites and presets in Premiere Pro. Taking a few minutes set this up once will save you hours or repetitive searching in all your future edit days, which will give you more time to get the real work done.